How to make the perfect Tarte au Citron
A recipe that's fantastically simple to follow, no matter what your skill level.
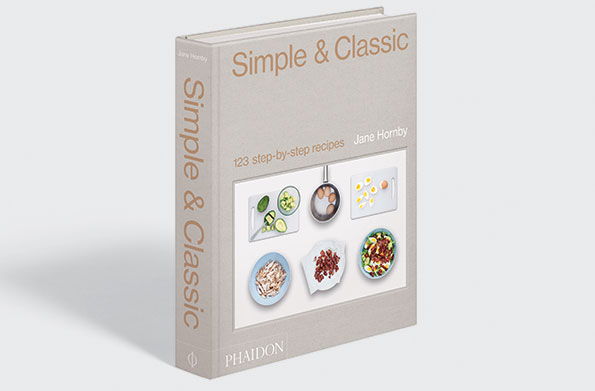
Jane Hornby’s latest book, Simple & Classic, is joyously easy to use. The words and descriptions are as simple and clean, as is the photography by Steve Joyce which shows step-by-step from assembling ingredients through to the processes needed to put together recipes.
We ran one recipe last week, will be running several more over the next few weeks on the Country Life website, and the whole book – Simple & Classic: 123 step-by-step recipes by Jane Hornby (Phaidon, £29.95) – comes warmly recommended.
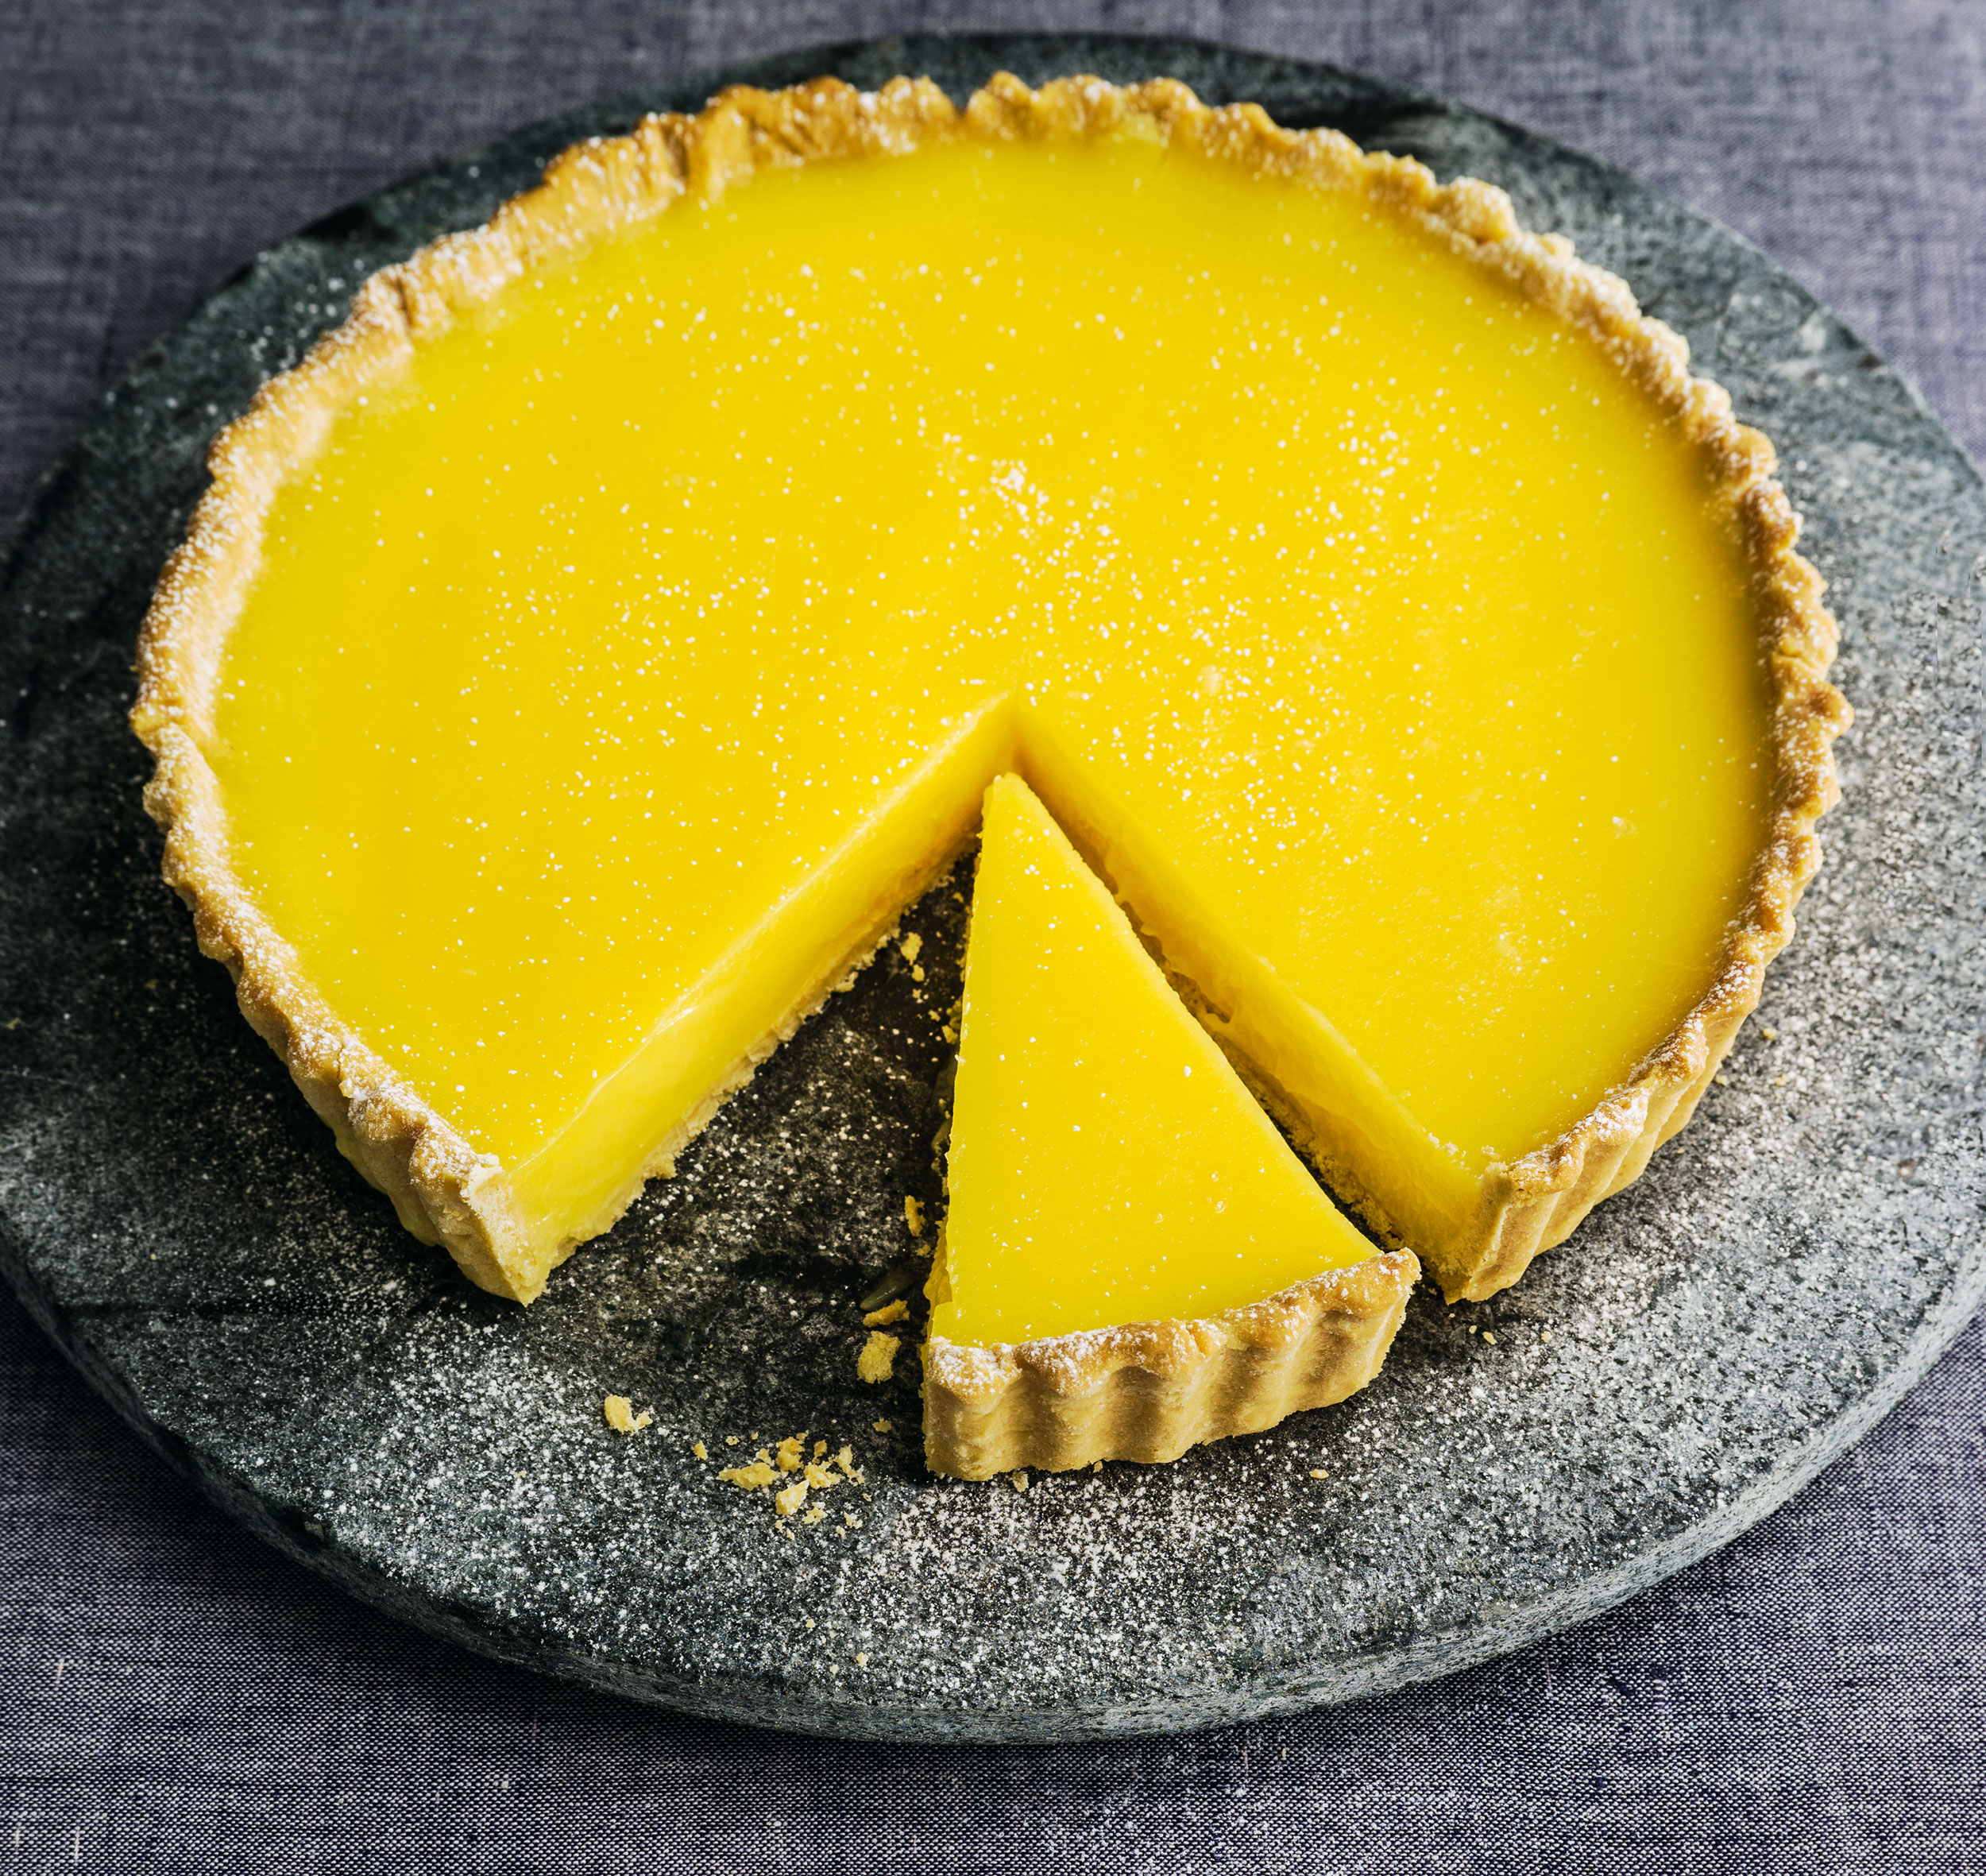
Tarte au citron recipe
‘I turn to classic lemon tart again and again for a dessert that works for just about any meal,’ writes Jane.
‘The lemon curd filling is sharp, fresh, and citrussy, and the pastry is a crisp, sweet shell (case) that’s simple to make, with no need to worry about overmixing. There’s enough dough for two tarts, so put half in the freezer.’
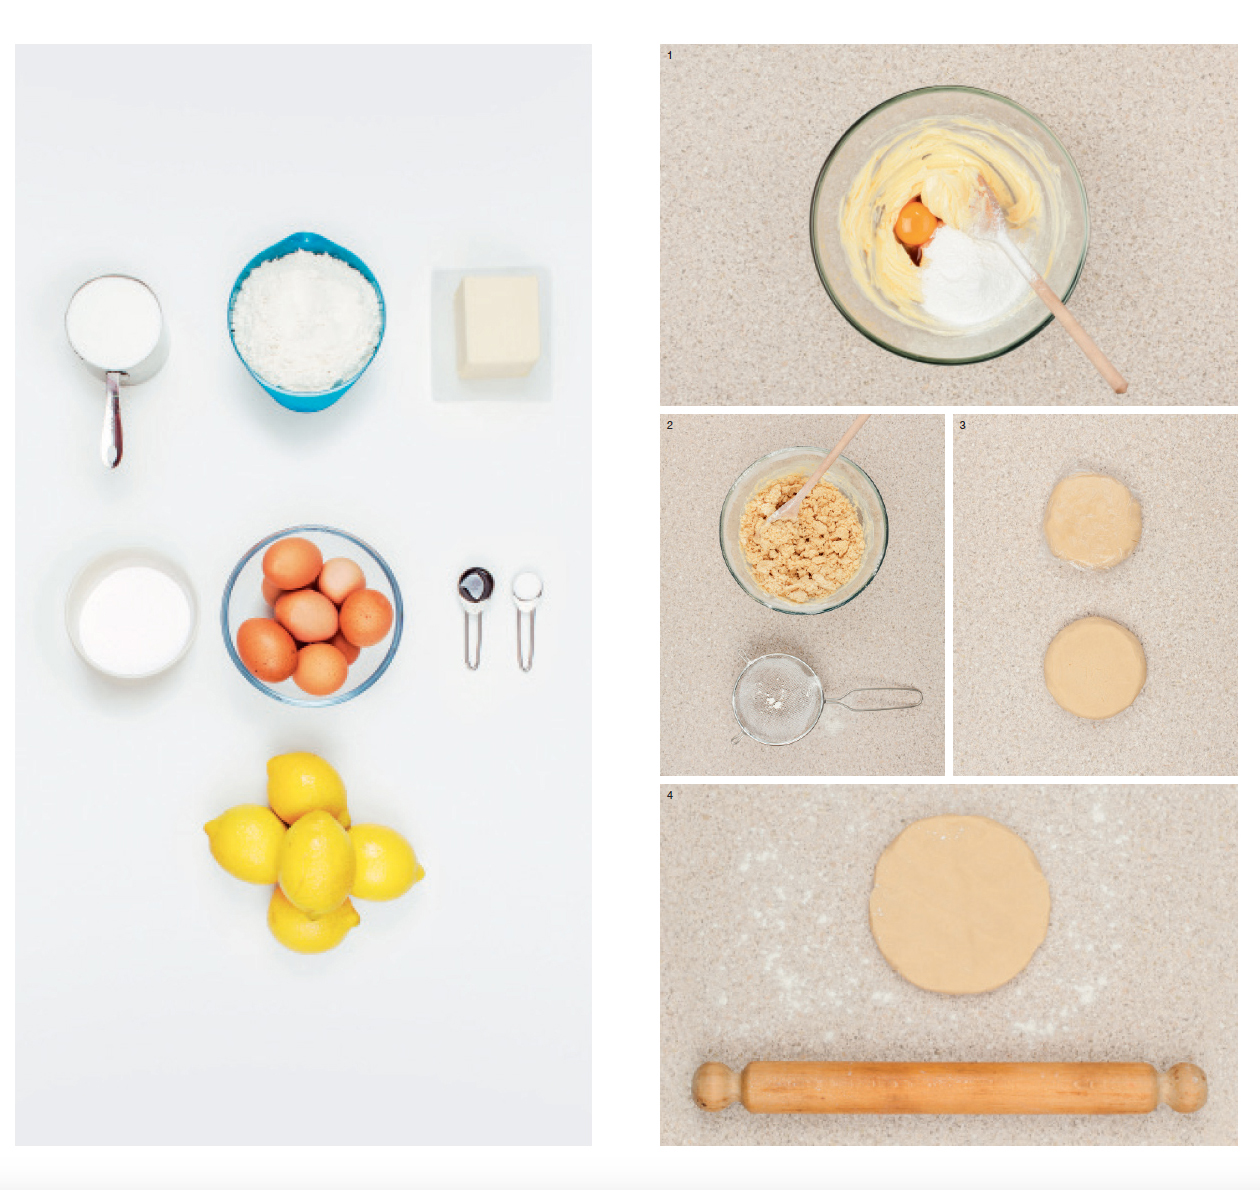
Ingredients (serves 12)
For the pastry
- 1 medium egg
- 225 g) soft butter
- 1 tsp vanilla extract
- 50 g icing sugar, plus extra to serve (optional)
- ½ tsp fine salt
- 350g plain flour, plus extra for rolling
For the lemon curd filling
- 8 medium eggs
- 175g butter
- 200g caster sugar
- 5 large lemons
Method
1. To make the dough, first separate the egg. You will only need the yolk. In a large bowl, beat the butter until it is soft and smooth. Next, add the egg yolk, vanilla, sugar, and salt.
Sign up for the Country Life Newsletter
Exquisite houses, the beauty of Nature, and how to get the most from your life, straight to your inbox.
2. Beat together until evenly combined and creamy. Sift in the flour, then work it into the creamed mixture until you have a clumpy but evenly mixed dough with hardly any dry flour left at the bottom of the bowl.
MAKE IT IN A PROCESSOR It’s easy to make the dough by hand, but if you have a food processor, then simply process the butter by itself until creamy. Blend in the yolk, vanilla, sugar, and salt, then finish with the flour.
3. Turn out the dough onto the work surface and make a smooth ball. It will seem soft, even a little sticky. Shape into 2 equal-sized disks, then wrap in plastic wrap (clingfilm). Chill one piece for at least 30 minutes (you need it to be firm but not hard, or it will crack as it rolls), and reserve the other for another time. It can be frozen for up to 1 month.
4. Preheat the oven to 400°F/200°C/ Gas Mark 6 and use the dough to line a 9-inch (23-cm) loosebottomed tart pan. Before rolling, flour the work surface and rolling pin. Press shallow ridges across the dough, then rotate it by a quarter turn. Repeat this until the dough is about ½ inch (2 cm) thick. If any cracks do appear, pinch them together.
5. Now roll out the dough to a circle. Roll the pin evenly over the dough, going forward and backward in only one direction. If you roll it in several directions, the dough may roll unevenly and stretch, which causes shrinking. Turn it by a quarter turn every few rolls, until it is just large enough to line the tart pan, allowing about a 1-inch (2.5-cm) overhang.
6. Flip the farthest edge of the dough over the rolling pin, then lift it and carefully drape it over the pan. Taking it a section at a time, gently push the dough down and into the corner of the pan so it sits at a clean right angle. Pinch off a small ball of excess dough and use it to press the dough into the ridges of the pan.
7. Trim the excess dough away with a roll of the rolling pin across the top of the pan. Pinch the dough between your finger and thumb so that its edge meets the top of the pan, or better still, comes slightly higher (if your dough does shrink, it will still be the same size as the pan). Prick the bottom all over with a fork, right down to the metal. Lift onto a baking sheet and chill for 10 minutes in the freezer until hard, or longer in the refrigerator if you have time.
ANY HOLES? If any holes or tears appear, dampen a little piece of the leftover dough and press it into the hole or tear. If cracks appear during baking, smooth a blob of dough over the hot pastry, bake for a few minutes to set, and it will melt and form a delicate seal. Be careful when doing this, though, because too much pressure on the edge of a baked pastry shell (case) can cause crumbling—this is only for emergency measures!
8. When ready to bake, line the dough with a sheet of aluminium foil, making sure all the edges are covered. I tend not to use parchment (baking) paper for this, because it can make the pastry sweaty underneath. Fill with pie weights (baking beans), mounding them up a little at the sides, to support the dough as it bakes.
9. Bake for 15 –20 minutes, or until the pastry looks set and is fairly dry underneath the foil. It should not have taken on much color at this point. Removing the weights too soon can cause the pastry to sag, so if you’re not sure, give it another 5 minutes. Remove the foil and weights from the pan.
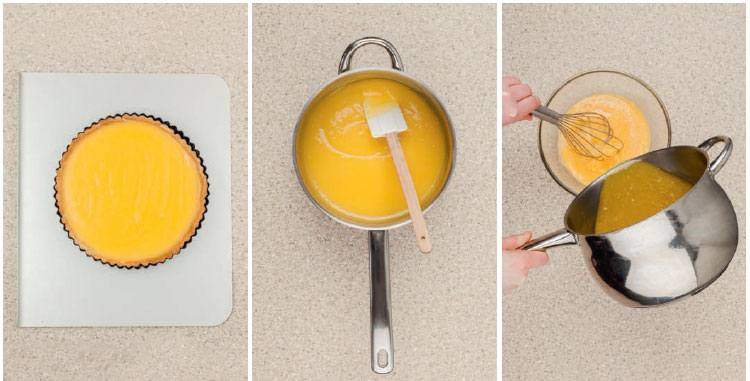
10. Turn the oven down to 325°F/160°C/ Gas Mark 3. Bake for another 10 –15 minutes, or until the bottom of the pastry is pale gold and feels sandy. If the outside edges are looking brown before the middle of the pastry is ready, carefully wrap in foil and return to the oven.
11. While the pastry is baking, make the filling. Separate 4 eggs. You will only need the yolks for this recipe. Beat them with the 4 whole eggs in a large bowl. Cut the butter into small pieces, and put into a heavy-bottomed pan with the sugar. Juice the lemons and add 1 cup (250 ml) lemon juice to the pan.
12. Gently melt the butter and sugar into the lemon juice. Once melted, begin to whisk the eggs with one hand, and simultaneously pour the hot lemon mixture onto them with the other. Pour slowly at first so that the eggs don’t get too hot too quickly and scramble.
13. Return the mixture to the pan and cook it over medium heat for 3 – 5 minutes, or until thickened and smooth. Try to avoid letting it boil, and keep stirring all the time, concentrating on the edges of the pan where it is hottest.
14. Pour the lemon curd into the cooked pastry shell (case), then bake again for 5 minutes, which just helps the curd to set.
15. Transfer the tart to a cooling rack, let cool completely, then chill until ready to serve. Sprinkle with confectioners’ (icing sugar), if you like.
Credit: Steve Joyce / Phaidon
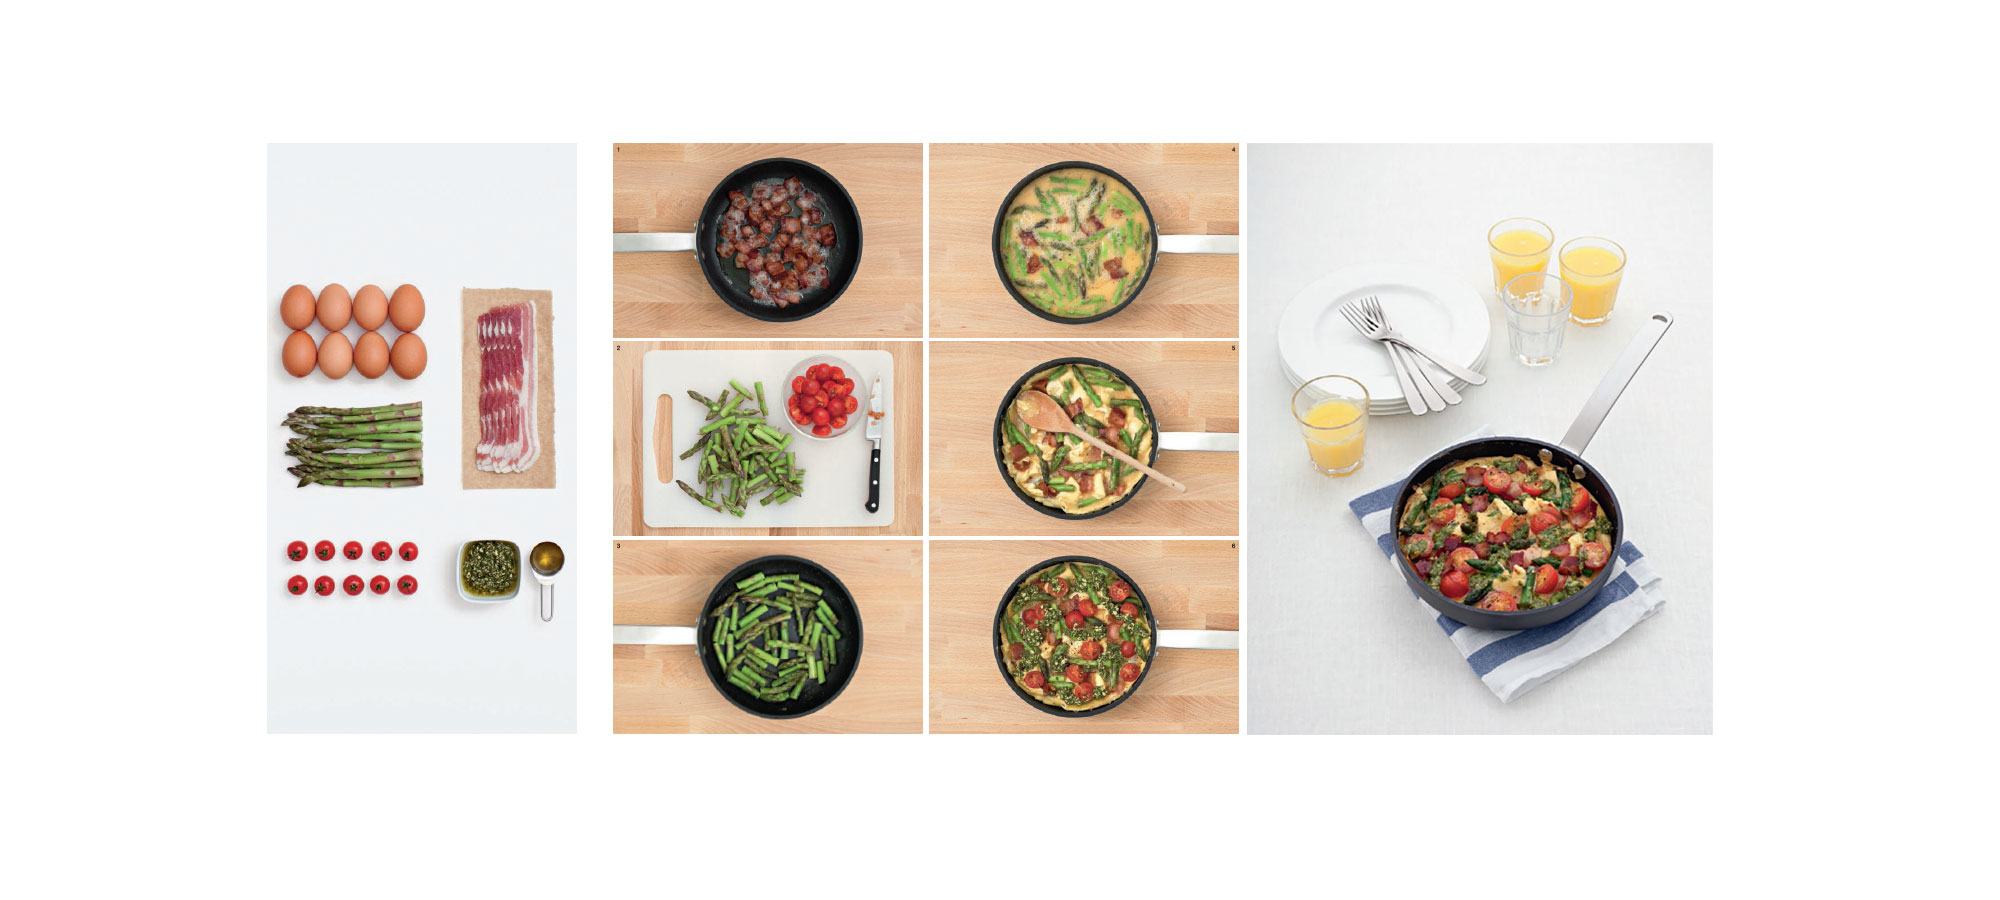
Recipe: Jane Hornby's asparagus and bacon frittata
This delicious recipe ideal for an indulgent weekend brunch comes from Jane Hornby's latest cookery book.

From hidden swords to Sting, everything you need to know about walking canes
Sported by traditional types, the walking cane is both stylish, practical – and sometimes deadly.

Lavender and lemon layer cake with vanilla mascarpone icing
Baked into a lemon layer cake or sandwiched between chocolate kisses, just two of our favourite lavender recipes to try.
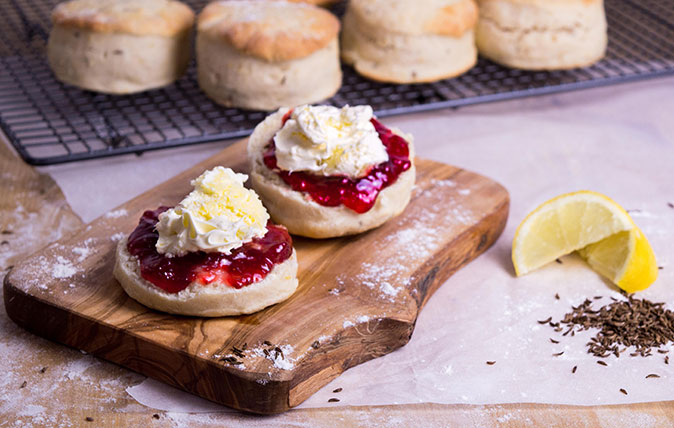
How to make Nancy Birtwhistle’s lemon and caraway scones
These delicious scones from the former Great British Bake Off champion are absolutely delicious and perfectly timed for summer.
Credit: Melanie Johnson
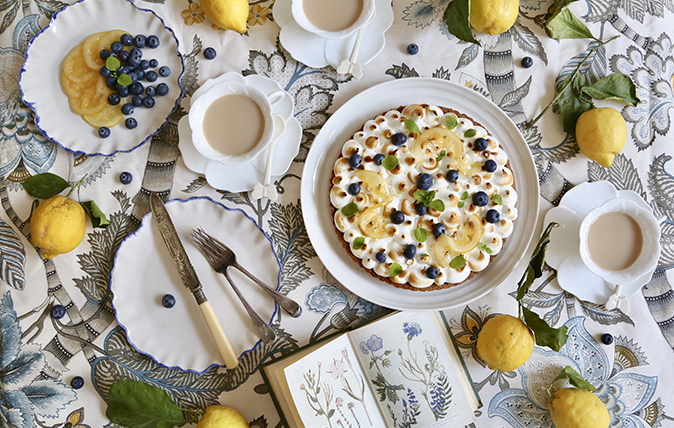
Recipe: Blueberry-and-lemon tart with Italian meringue and confit lemons
Our kitchen cook reveals a showstopper of a pudding, perfect for summer.
Credit: Melanie Johnson
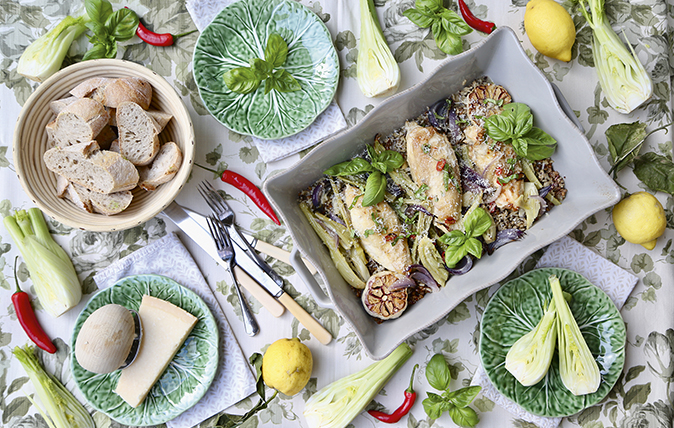
Recipe: Roast-chicken with fennel and lemon, served with red Camargue rice
A delicious summer supper dish from our kitchen garden cook.
Toby Keel is Country Life's Digital Director, and has been running the website and social media channels since 2016. A former sports journalist, he writes about property, cars, lifestyle, travel, nature.
-
 London Craft Week: Rolls-Royce demonstrates the true beauty of real artisanship
A triptych of British nature scenes show that the difference between manufacturing and art is not as wide as we might think.
-
 ‘I only ever want to be there when the circus is in town’: Everything you need to know about Cannes ahead of the famous Film Festival
The annual Cannes Film Festival kicks off today — and it’s a hectic as it is glamorous. Chris Cotonou breaks down exactly how to do it, from where to stay and eat, to what to do
